Anyone who has delved into the dynamic and intense Match Masters gameplay will understand that every action has significant impact. Imagine gaining an advantage beyond boosters and combos through an extra unique feature. That’s where Perks come into play. These tiny yet powerful tools become match game-changers when players deploy them strategically.
This guide explains everything about Match Masters perks including their functions, acquisition methods, strategic uses and a detailed list of each perk with its specific effects.
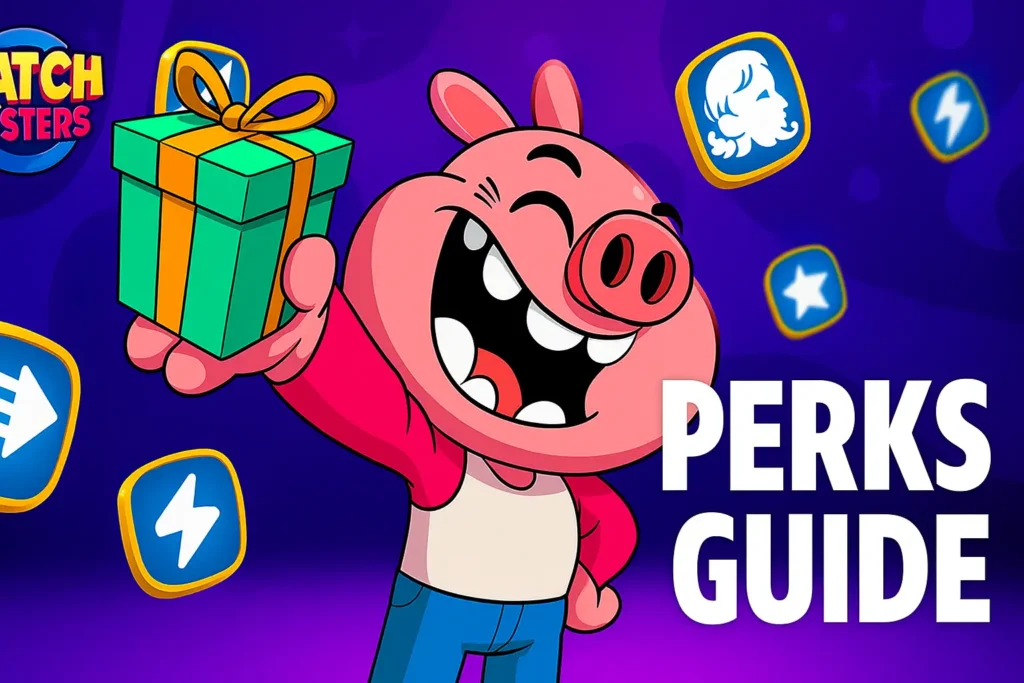
What Are Perks in Match Masters?
During a match players can activate powerful one-time-use Perks to navigate difficult board configurations or seize advantageous moments. Players have the ability to alter board layouts while eliminating challenging obstacles or activating advantageous effects with their perks.
Each player is allowed to attach two perks to their profile before each match begins which will display on the bottom left corner of the screen when gameplay starts. Perks can be activated immediately during gameplay unlike boosters that require blue stars to charge up.
How to Get Perks in Match Masters
Perks are not always freely available since certain perks need players to put in effort or participate in events and sometimes require spending in-game coins. Here are the ways to earn them:
Free Gifts: Match Masters often distributes links to rewards which may include perks on occasion.
Trophy Milestones: Your rank progression on the leaderboard unlocks new perks as rewards.
Special Events & Tournaments: Premium perks are often prizes in many events that operate for a limited time period.
Seasonal Albums: Players receive rare and premium perks when they finish sticker albums.
In-Game Shop: You can purchase specific perks with coins when your supply gets depleted.
💡 Pro Tip: Players gain access to premium perks at the moment they achieve the Master Rank milestone which stands at 3800 trophies. Your available options during this stage will primarily include basic abilities such as Shuffle and Hammer.
How to Use Perks in Match Masters
You access and employ perks straight from your match screen. With the perk equipped you will need to tap the bottom left icon at the appropriate moment. The restriction of one-time usage for each perk makes both timing and strategy essential in every match.
📌 Smart Strategy: Don’t waste perks early in the match. Keep your perks until you encounter a tough situation or need to stop a combo chain from developing or when you have little time remaining in the match.
Complete Match Masters Perks List (2025)
This list presents every known game perk separated into basic and premium types.
Basic Perks (Always Available)
These perks are always unlocked and don’t require special access:
- Hammer – Removes or activates any one piece on the board.
- Shuffle – Randomly reshuffles the entire board to generate new match possibilities.
Premium Perks (Unlockable / Purchasable)
These perks add serious firepower but are limited in inventory and must be unlocked or purchased.
- Mini Cleo – Duplicates a selected piece using a scarab-style clone.
- Energy Boost – Instantly charges energy for your next move, regardless of color match.
- Checkerboard – Transforms the board into a checkerboard pattern.
- Create Lightnings – Adds two lightning bolts randomly on the board.
- Remove Cross – Eliminates an entire row and column based on a selected piece.
- Mini Cobra – Select a column and it will be cloned to the right.
- Mini Wand – Removes all tiles of a selected color to open combo opportunities.
- Mini Mastermind – Rearranges parts of the board to form potential special matches.
- Bomb Delivery – Places a bomb at the center of the board that explodes nearby tiles.
- Teleport – Allows you to switch the positions of any two tiles.
- Star Maker – Adds more blue stars to the board, making it easier to power up boosters.
- Detonator – Activates all existing special pieces on the board instantly.
Also Check: List Of All Boosters In Match Masters
Best Tips for Using Perks Effectively
Activate a perk either immediately before or afterward when you use your booster to generate strong chain reaction effects.
Utilize your perks at critical moments to execute game-changing actions such as clearing the entire board or completing difficult levels.
Understand your preferred playstyle since certain perks enhance aggressive gameplay while other perks benefit strategic players. Experiment and find what works for you.
Your focus should be on acquiring Premium Perks because they dramatically shift the outcome of ranked matches and tournaments.
Final Thoughts
To excel in Match Masters you need a deep understanding of both the timing and application of your perks. This comprehensive guide will enable you to tackle tough boards while winning crucial matches and advancing through the ranks.
A firm grasp of perks delivers a unique competitive edge whether you play casually or aim to reach professional levels. Match up, master your gameplay and ensure every move matters!