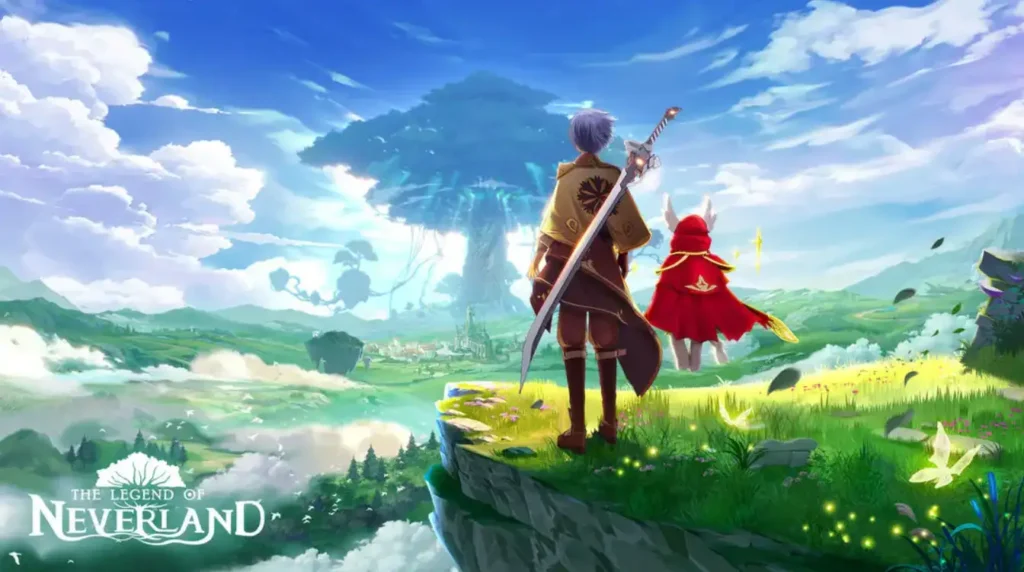
The adventure of anime-inspired fantasy gaming offers excitement yet playing The Legend of Neverland proves to be a challenging experience. The massive worlds combined with intense boss battles and resource-heavy progression make The Legend of Neverland overwhelming. The game developers offer us redeem codes to help us progress through the game.
The redeem codes serve as tiny yet potent power-ups which enable players to acquire premium items along with diamonds, scrolls, upgrade stones and other necessary resources to excel. Best of all? They’re completely free.
All players in Neverland can improve their position easily through code redemption regardless of their experience level.
What Are The Legend of Neverland Codes?
The game’s developers release these codes as special gifts to mark various occasions like updates or server milestones. Players who input these codes gain access to complimentary in-game items which assist with character progression through leveling up and crafting and customization.
Players can receive various rewards including energy scrolls, enhancement stones, gold, costume vouchers, and rare gear when they redeem codes which helps enhance their gaming experience.
How to Redeem Codes in The Legend of Neverland
Using your codes is quick and easy. Follow this detailed guide to successfully collect your rewards in one seamless process.
- Open The Legend of Neverland on your mobile device.
- Open the main settings by tapping on the Menu icon.
- Navigate to the Settings gear icon.
- Tap the button labeled “Redeem Code.”
- Input the exact code as it appears (keeping case sensitivity in mind).
- Choose Confirm to get your free items delivered through in-game mail.
Reminder: You must check your in-game mailbox to receive rewards after entering your redemption code.
How to Find More Codes For Legend of Neverland
If you’re wondering how to stay up to date with new codes, the answer is simple: follow the official community channels. The developers drop fresh codes regularly through:
- The official Facebook page
- The game’s Twitter account
- Their Discord server
- The official website
- Occasionally during livestreams and patch previews
Bookmark this guide to streamline your experience. We make regular updates so you’ll never miss the latest working codes without endless social feed browsing.
Active The Legend of Neverland Codes for April 2025
The following page displays the current list of verified functional codes for this month. Ensure you redeem these codes before their expiration date.
| Code | Reward | Status |
|---|---|---|
| TLON2025GIFT | 300 Diamonds, 3 EXP Potions | ✅ Active |
| NEVERLANDLOVE | Costume Voucher x1, 100k Gold | ✅ Active |
| APRILBOOST888 | Enhancement Stones x10, EXP Potion | ✅ Active |
| GLORYARENA2025 | Glory Coins x200, Weapon Token x2 | ✅ Active |
| HEROEXPLORE999 | Energy Scrolls x2, 200k Gold | ✅ Active |
🕐 Last checked: April 23, 2025. Expired codes are removed automatically.
Why Aren’t My Codes Working?
When redeeming a code you encounter errors you might be facing one of these usual issues.
- The code has expired.
- Ensure the code is entered exactly as it appears because any typo or added space will cause an error.
- The code has already been redeemed on your account.
- The code contains region-based restrictions making it invalid for use on your server.
- Paste the code directly to prevent mistakes and examine your server if problems continue to occur.
Final Thoughts: Freebies That Actually Matter
The Legend of Neverland’s depth and vibrancy mean every bit of help you find becomes valuable. Redeem codes serve as a powerful tool to enhance your gaming experience by providing valuable rewards while saving you time on resource collection.
People interested in costumes, combat mechanics, or world-building should regularly search for new game codes. These codes let you access improved progression and upgrades along with cosmetic bonuses at no cost.