When Rockstar Games released the first official trailer for Grand Theft Auto 6, the gaming world stood still. Within hours, the trailer had racked up tens of millions of views, and the momentum hasn’t slowed down since. As of April 19, 2025, the GTA 6 reveal trailer has surpassed a historic 250 million views on YouTube, solidifying its place as the most-viewed video game trailer in history.
That number is more than double the view count of Rockstar’s next most-watched video — the original GTA 5 trailer from 2011, which sits at 118 million views. GTA 6’s reveal is now not just a major gaming moment, but one of the most iconic digital events in pop culture history.
Don’t Forget To Check: Monster Hunter Wilds Review
A Leaked Launch and a Record-Breaking Day One
Originally scheduled to debut on December 5, 2023, at 9AM ET, Rockstar’s hand was forced when the trailer leaked online. In response, the studio released it 16 hours early, sparking an even bigger frenzy.
Despite the unscheduled drop, the trailer hit 93 million views in its first 24 hours, setting a new YouTube record for the most-viewed non-music video in a single day.
And it hasn’t stopped climbing. By mid-July 2024, it had crossed 200 million views. Over the next nine months, it added another 50 million — an incredible feat for a video that’s over a year old. The trailer also now boasts over 1 million comments, a testament to its ongoing relevance and anticipation.
Rockstar’s Most-Viewed YouTube Videos
Here’s how the GTA 6 trailer compares to Rockstar’s other top videos:
| Video | Premiere | Views |
|---|---|---|
| GTA 6 Trailer 1 | Dec 2023 | 250 million |
| GTA 5 Trailer | Nov 2011 | 118 million |
| GTA 5: Official Gameplay Vid | Jul 2013 | 42 million |
| RDR2 Trailer 3 | May 2018 | 40 million |
| RDR2 Trailer 2 | Sep 2017 | 35 million |
The GTA 6 trailer has more views than the next four most-watched Rockstar videos combined, beating them by around 15 million.
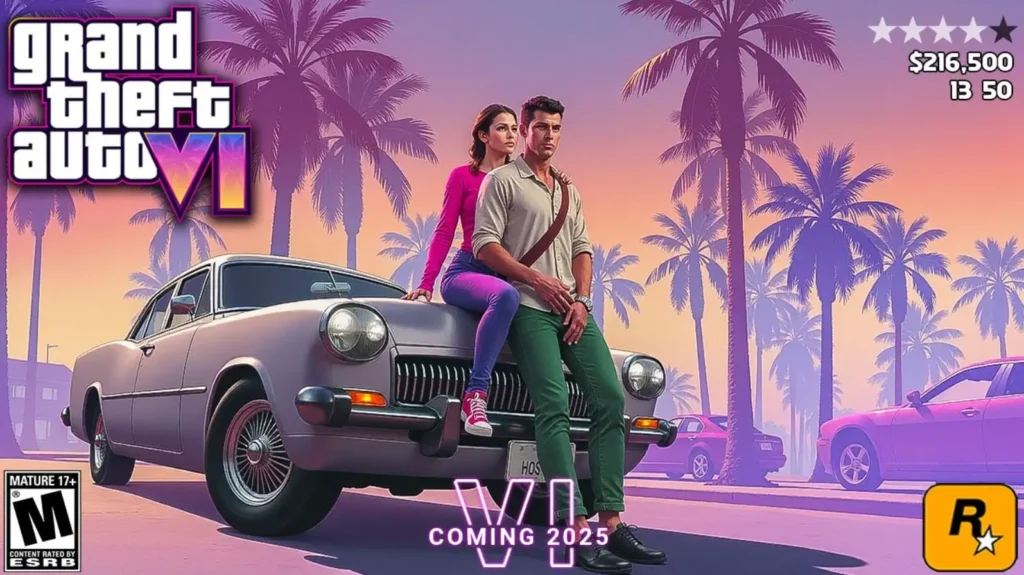
Why the Trailer Resonated: Setting, Characters, and Style
The return to Vice City, paired with a sleek, modern Miami vibe, instantly captured fans’ imaginations. Add in:
- Dual protagonists (a Bonnie-and-Clyde-style criminal couple)
- Jaw-dropping visuals featuring neon nightlife, high-speed chases, and real-time crowd behavior
- A cinematic tone that feels more like a blockbuster than a video game
It’s no surprise that the trailer isn’t just being watched — it’s being dissected, analyzed, and celebrated around the world.
Where’s the Next Trailer?
With this milestone reached and over 500 days since the first trailer’s debut, fans are eager for the next reveal. While Rockstar hasn’t confirmed a second trailer yet, insiders suggest it’s on the way — possibly alongside a major gameplay reveal later in 2025.
Rockstar parent company Take-Two Interactive CEO Strauss Zelnick recently commented on the silence in an interview with Bloomberg, saying the goal is to maintain “anticipation and excitement.” This explains the lack of updates — Rockstar is pacing its marketing to maximize impact closer to launch.
GTA 6 Release Date: What We Know So Far
Rockstar has confirmed a 2025 release window for PlayStation 5 and Xbox Series X/S. There’s still no official word on a PC release, but based on past launches, it’s likely to arrive a year or two later.
Meanwhile, other publishers are reportedly avoiding launch windows close to GTA 6, with Borderlands 4 confirmed for a September 23, 2025 release. That suggests GTA 6 might hit shelves sometime in Q4 2025, though no firm date has been announced.
Fan Reactions: A Global Moment in Gaming
Social media continues to buzz with fan content:
- YouTubers breaking down Easter eggs and hidden lore
- TikTok creators spoofing iconic GTA moments
- Reddit communities predicting in-game locations and mechanics
- Memes highlighting the decade-long wait
It’s not just hype — it’s a full-blown cultural event.
Final Thoughts: Rockstar Has Redefined the Trailer Drop
With over 250 million views, a million comments, and global media attention, Rockstar has redefined what a video game trailer can achieve.
More than just a reveal, the GTA 6 trailer is a masterclass in modern marketing. It builds on Rockstar’s reputation, fuels fan imagination, and sets the stage for what could be the biggest game release in history.
Whether the next trailer arrives tomorrow or in a few months, one thing is clear — all eyes are still on Vice City.